I started with the ellipse tool to capture the round shape. However, I found this difficult because it seemed to depend on where I started the ellipse, and it was more often than not, off-center. I finally used the ruler guides to define the starting corner, and this worked well. I wish this tool had corners so I could reshape it. There were rough edges so I used both the magic wand and polygon tool to get rid of the bumps. I also used the quick mask tool to capture the large areas in the background.
I made a separate mask for the keyhole. Then came the fun stuff! For the knob itself, I applied only one filter, (although I tried many) and that was the "poster edges". The keyhole was still masked and not effected.
I then selected the inverse to work on the background. These are the filters I used to get the effect seen below:
Filter >Sketch: Bas Relief
Image >adjustments: brightness/contrast
Image >adjustments: posterize
Image >adjustments: colorize
Then I isolated the keyhole and applied:
Filter >distort: twirl
These simple changes turn this ordinary photograph into one which is unusual and artistic.
Photo #1: Door Knob Before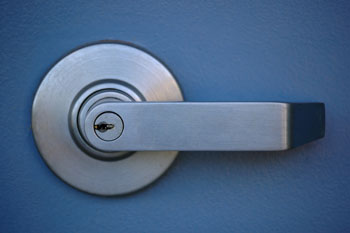
Photo #1: Door Knob After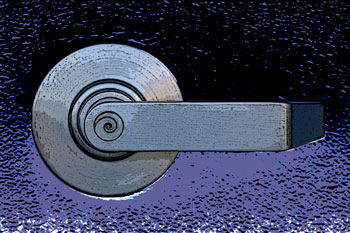
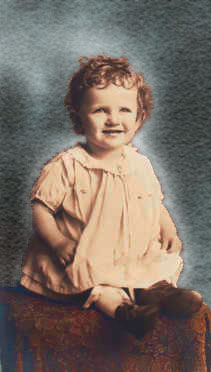
I used this old photo and isolated the baby, the seat, and the background. I used the the magic wand and then used the polygon tool to capture the parts that the magic wand couldn't. I saved those selections, and also saved one of the baby and the seat combined. I often switched between adding to or subtracting from, the image to get the final selections. These are the filters and adjustments I made:
On the background I used:
Image >adjustments: hue/saturation/fade
Select >Modify: feather
Filter >Texture: texturizer
Filter >Distort: diffuse glow
Filter >Blur: gaussian blur
For the seat:
Image >adjustments: hue/saturation
For the baby:
Image >adjustments: hue/saturation
Image >adjustments: curves
What surprised me most were the colors that showed when I altered the seat. Apparently it has some slight red and olive coloring. I did not isolate that pattern to change those colors. I thought this was a simple monochromatic print in sepia tones. Somehow the camera had managed to capture a bit of color.
Photo #2: BabyJean Before
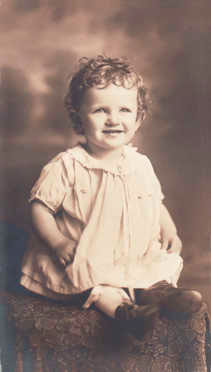
Photo #2:
BabyJean After
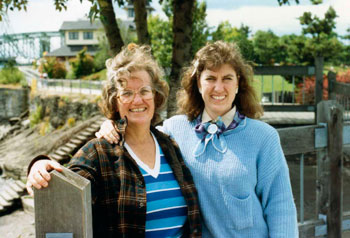
This photo had many colors and shapes and was more involved than the top two. I found that I used the magic wand tool for almost the whole selection. But I did also use the quick selection tool. Most of the alteration was done to the background.
To the background:
Select >Modify: feather
Image >adjustments: levels
Image >adjustments: curves
Filter >Blur: Lens blur
Image >adjustments: photo filter
Then to the figures, I applied the same photo filter settings as to the background. The background was already blurred, but I increased that slightly to bring forward the figures. The warm filter color I used, makes this seem like a sunrise or sunset. After it was applied, I realized I had to apply it to the figures, as the coloring just didn't fit. Also, the orange filter enhanced the flesh tones while toning down the competing blues. I believe the faces take on more importance because the blues in the shirts were too bright. Something I didn't expect happened - the colors in the plaid shirt, harmonize with the posts to the right, sharing the same dark greens and browns. The darker shades pop the figutes to the foreground instead of creating distraction. The photo takes on a coherent look, having that orange throughout the fore-and backgrounds.
